This post may contain affiliate links.
This is a craft that will really look different for every person who makes it. You can use whatever colors you like, change up the look of the doors, be as detailed or as minimalist as you like. The most important thing is that you’ll be able to amp up the excitement of the season by moving that little trick or treat bucket closer and closer to the big day!
What You’ll Need
- An unfinished wood plaque with about 7.5″ x 10.5″ of usable space. I used this one from Michael’s
- Various colors of acrylic paint. I like Apple Barrel paints, and here’s a good set to get your started
- Craft paint brushes of various sizes. A nice variety pack is always useful for different projects.
- A ruler, pencil, and eraser. Whatever you have in your house will be just fine.
- Thick foam sheet or foam core board, in white or orange
- Mounting putty. This is also known as Fun Tac. It’s the removable rubber adhesive that you’d use to put a poster up in a dorm room. Any brand will do.
- A thin black marker. I love Microns, but any fine point marker will do.
Optional Items - Mod Podge and a foam brush
Let’s Get Started
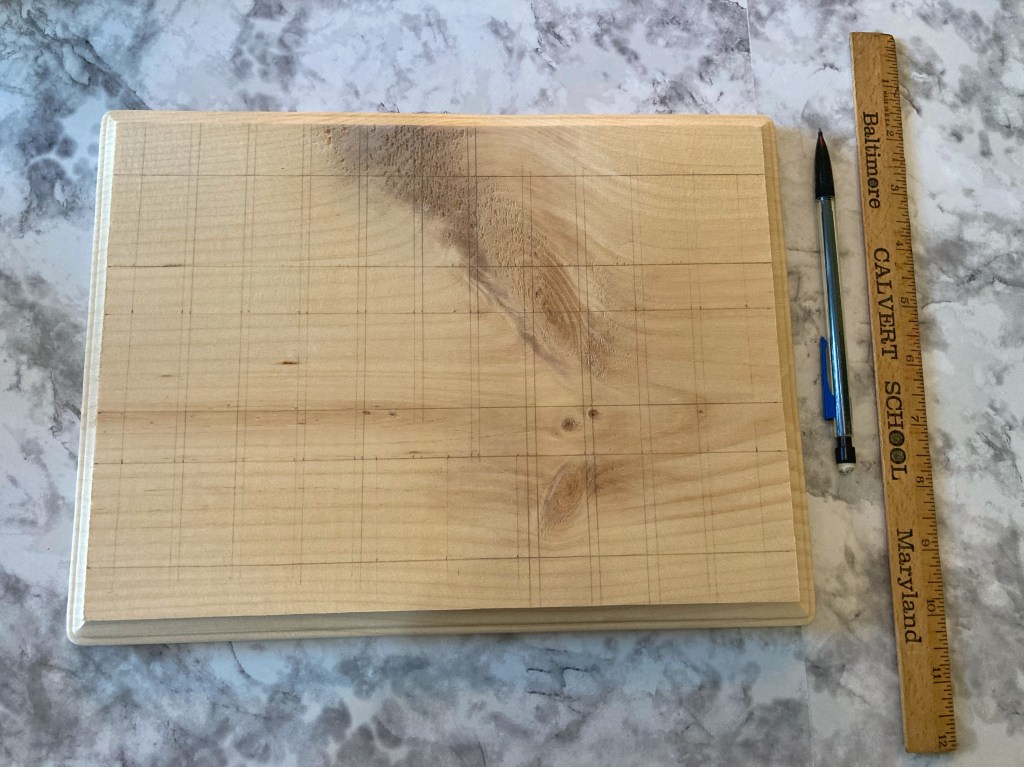
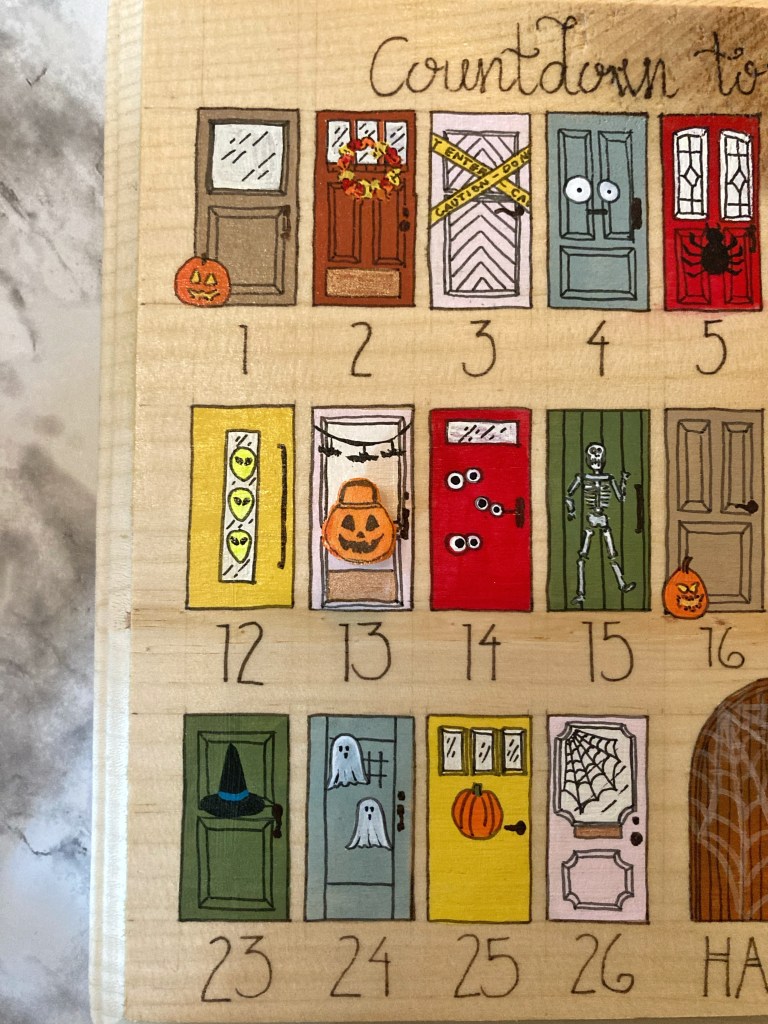
First, you’ll want to mark off where all of your doors will be painted. There are three rows of doors, with 11 doors in the first and second row, 8 doors in the bottom row, and one larger door right in the center of that bottom row.
The regular sized doors are .75″ wide and 1.5″ high, and have a .125″ (1/8″) gap between them. Start by making a horizontal line .75″ from the top. Then a horizontal line 1.5″ below that. This is your first row. Start the first door .375″ (3/8″) from the left side.
On the bottom row, you’ll repeat the same method of making your doors, but only do 4 from left to right, and 4 from right to left. The middle space will be a nice big set of double doors. Mine are 2″ wide by 1.75″ high and I rounded the top corners, but you can make yours look however you like!
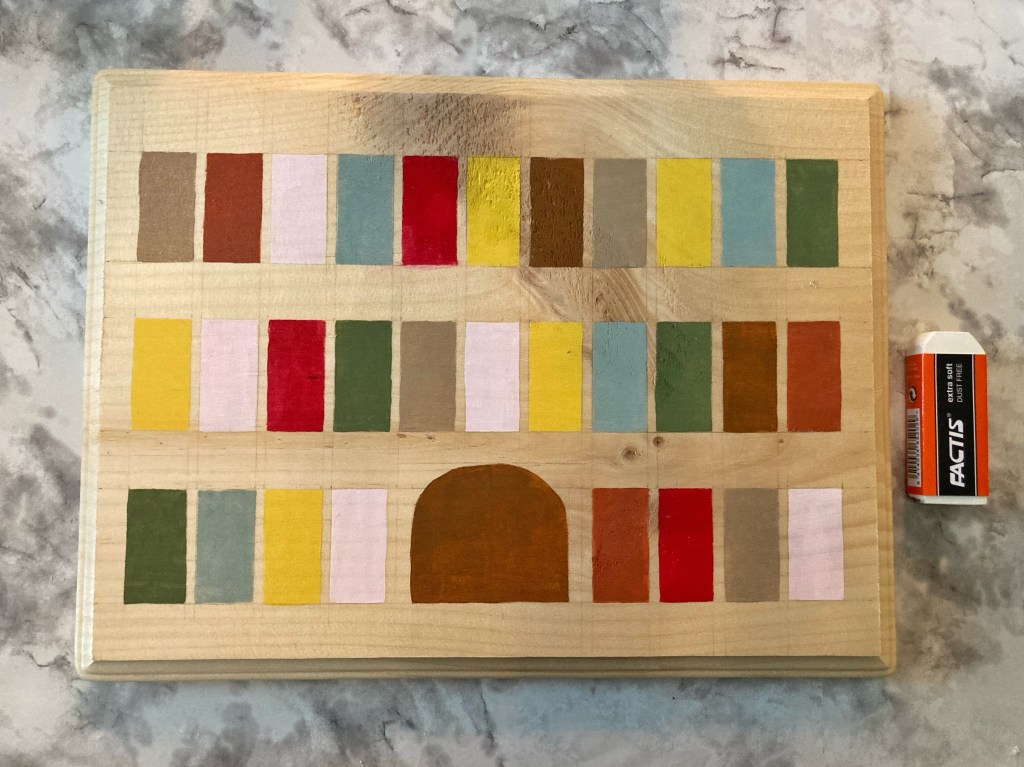
Now that all of your doors are sketched out, it’s time to paint. I chose eight different colors and randomly painted each door. After the paint was nice and dry, I used an eraser to clean away my pencil marks.

Next, I used white paint to add some windows, and black paint to add handles. I wanted my little Halloween neighborhood to look varied and interesting, so I looked up pictures of front door styles and based my designs off of what I saw. So, there were some classic, traditional, and modern styles.

Next, I added some kick plates and mail boxes using gold paint. I wanted to add some Halloween decorations as well, like jack o’ lanterns and wreaths.
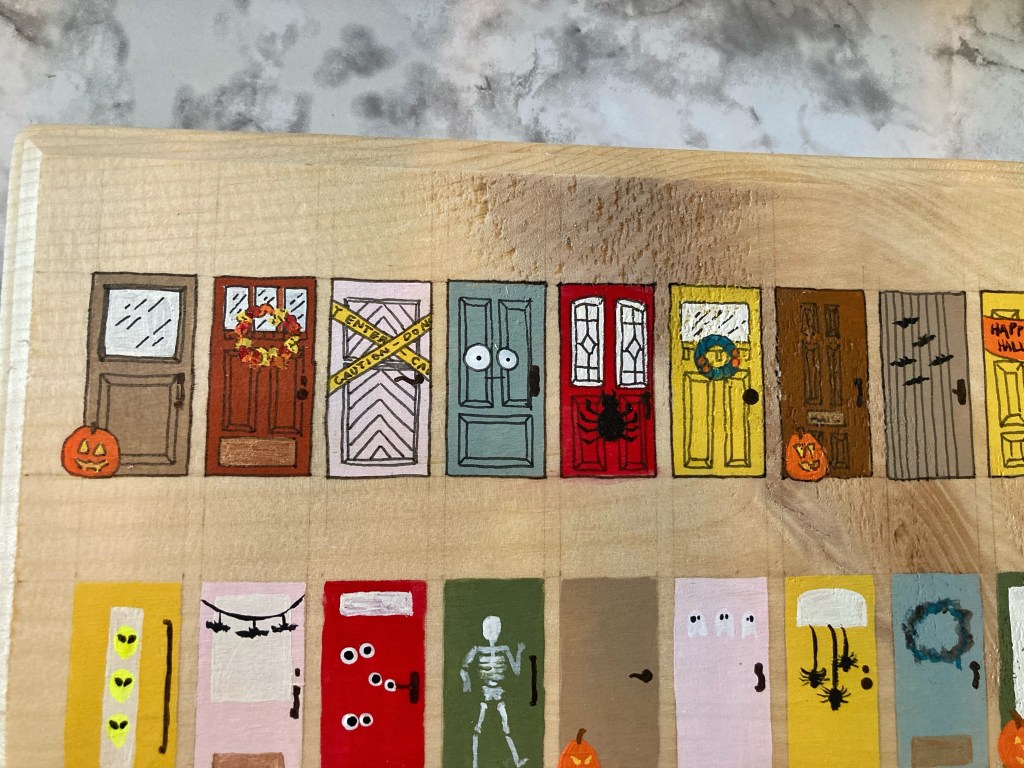
Now it was time to add some details to the doors. Using a thin black marker, I outlined all of my doors and windows, outlined the decorations, and added lots of details like molding. This is a really fun step because it gives you the opportunity to really add your personal style to the piece.
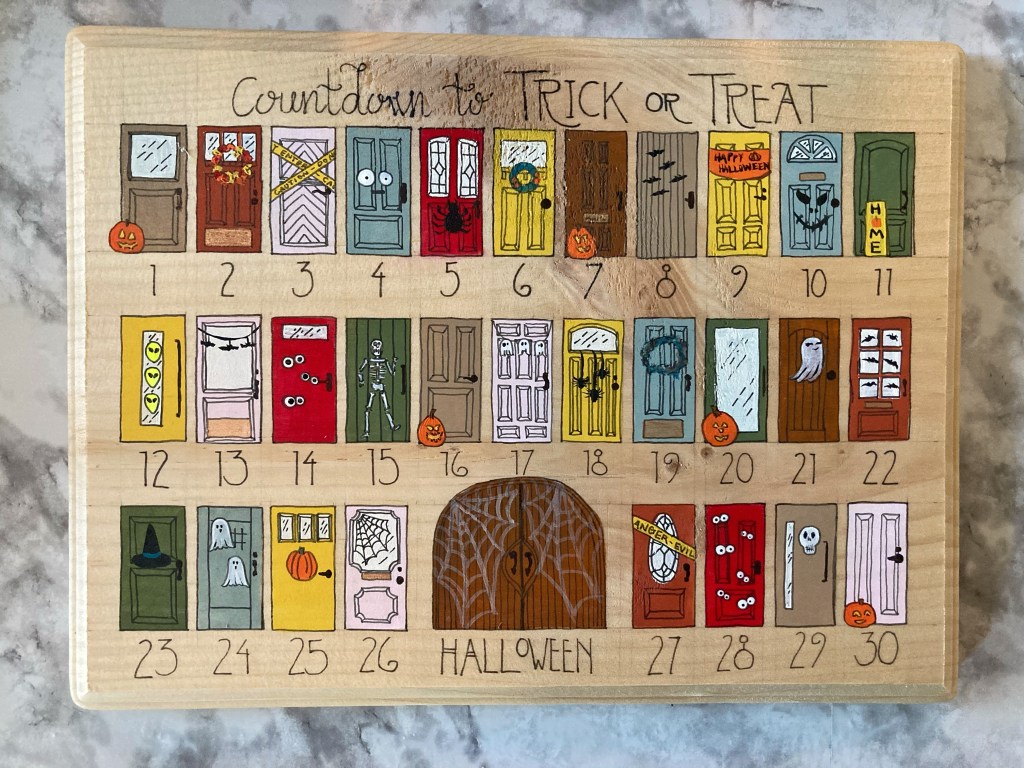
Now it’s time to add the numbers! I drew my numbers underneath each door, and chose to write “Halloween” instead of “31” under the final large door at the bottom. I also added “Countdown to Trick or Treat” at the top of the wood. If you’re not comfortable free-handing, you could skip this part, or even use a computer to print out a little title card and then glue it on. Or use a Cricut or Silhouette and cut out some vinyl for this step.
I decided to add a layer of Mod Podge to the finished piece at this point to protect it, but this is optional.
Now you want to make a little counter. You have to have a way to show what day you’re on, right? I decided to do something really simple here and cut out a piece of thick craft foam in the shape of a little trick or treat bucket. We’re going old school 90s for the look of this bucket, but if you want something more simple, or to make a trick or treat bag, or a pillowcase, or a McDonald’s Happy Meal bucket, have at it!

This type of thick craft foam (6mm thick as opposed to the typical craft foam which is 1mm thick) only comes in white or black at Michael’s, so I used an orange marker to color it in. You could do the same with a piece of white foam core board. Since the doors are .75″ wide, make sure your counter is a little smaller than that (mine is about .5″ around, and I just freehanded the design). I used a small pair of scissors and an x-acto knife to cut out the shape. I also used a black marker to add the pumpkin’s face and handle.
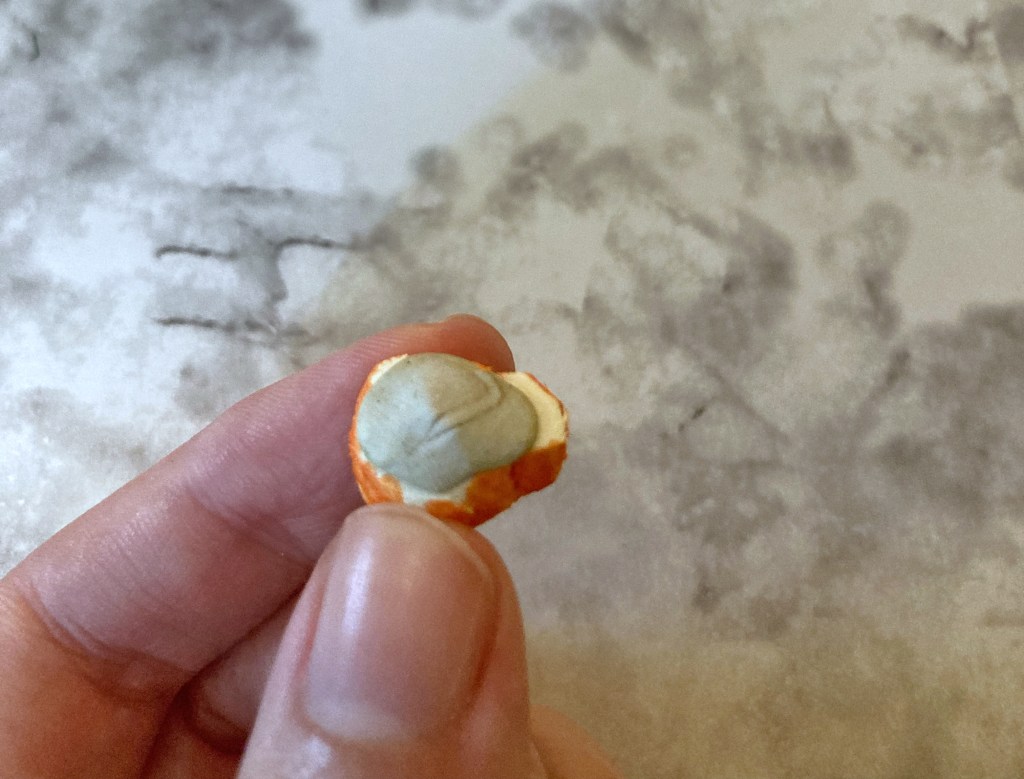
I added some more orange marker to the exposed sides of the foam. Then, add a little mounting putty to the back of your foam piece so you can lift it off each day and move to the next one. You’ll want to kind of mush the putty onto the foam to get it to adhere. And that’s it! You can officially countdown to trick or treating with this adorable craft!


Leave a comment