This post may contain affiliate links.
There are so many ways to make friendship bracelets – from the classics from my childhood that involved elaborate braiding of embroidery floss to the Taylor Swift-approved letter beaded style. The most important thing about a friendship bracelet is that it makes you (or the friend you gift it to) smile. And what makes us smile in October?
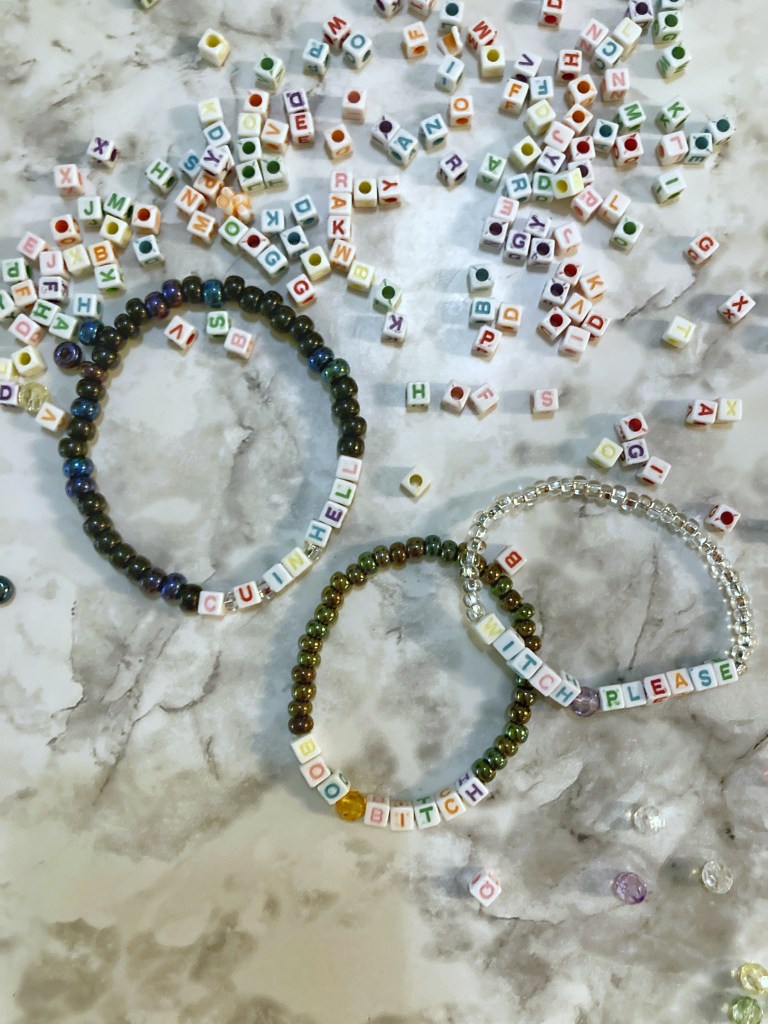
Halloween, bitches! Now listen, you can absolutely make your Halloween-themed bracelet something a bit more kid-friendly (like having it say “spooky cutie” instead of “c u in hell”) but that’s entirely up to you and your friends’ wrists, I believe.
What You’ll Need
- Stretchy elastic cord. There are so many different types try – from clear to colored to rainbow.
- Letter beads. Again, there are tons of varieties available at different price points. I actually got the ones I used at the Dollar Tree!
- Other types of beads of your choice. This is completely based on what you like. I go to Michael’s and just grab whatever catches my eye
- Super glue. (I prefer Loctite Ultra Gel Control)
- Craft scissors
Let’s Get Started
Measure the size of your wrist. You can use a flexible measuring tape, or you can put a string or ribbon around your wrist, mark how big it is, and then measure it against a flat ruler. This is how big your bracelet should be. Now start stringing! Add your beads in whatever way you like, spelling out words, creating patterns with color: this is all up to you!
The most important part of this project is making sure that your bracelet doesn’t fall apart on you, and that comes down to the knot that you use to secure the ends of your elastic cord. It’s always hard to type out how to do knots, so thankfully I’ve created a quick, handy diy video to show you exactly how to make your knot.


Leave a comment