This post may contain affiliate links.
My mom has a cross stitch in her dining room that says, “I will honor Christmas in my heart and try to keep it all the year.” That’s a quote from A Christmas Carol. She loves Christmas, loves the story, and also decked out her beautiful Victorian dining room in shades of dark red, so it feels very Christmas-y in there.
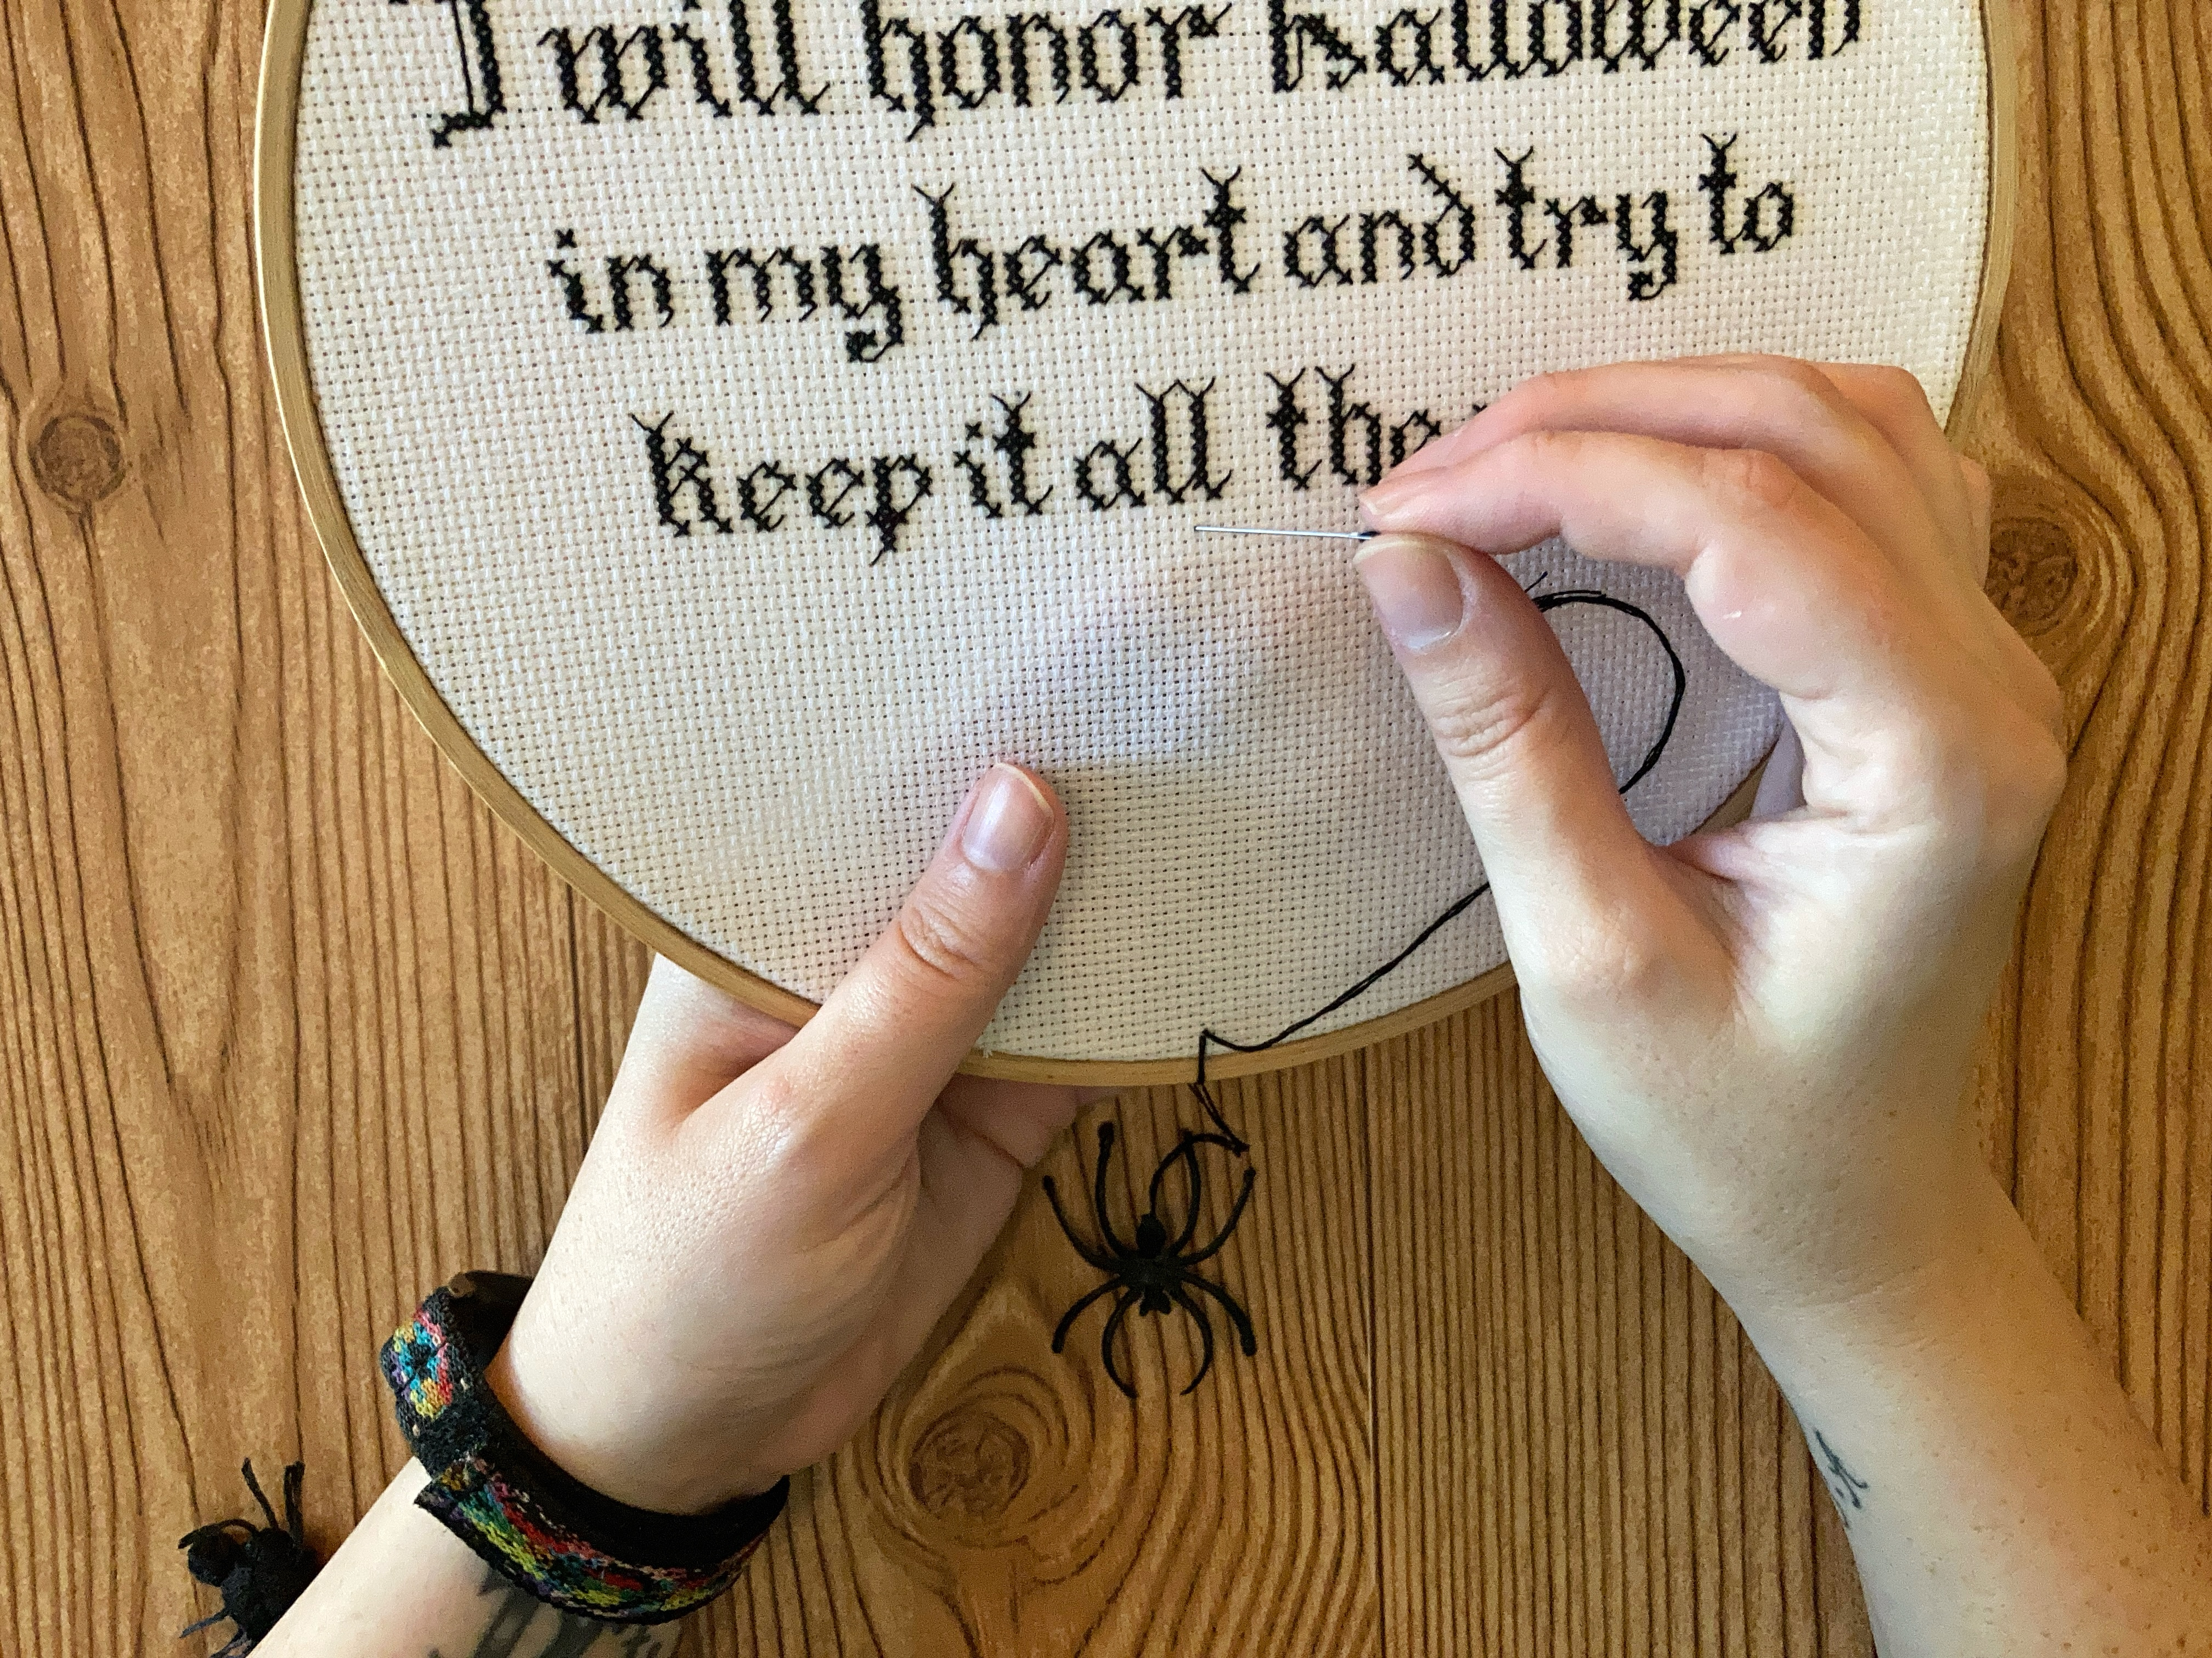
My husband, on the other hand, is ambivalent about Christmas but loves Halloween. (So do I, although I fully embrace both holidays.) I decided to come up with something similar to what my mom did, but make it sing the right song for this house. Hence, “I will honor Halloween in my heart and try to keep it all the year.” And, a little dangling spider for good measure.
This is a very simple cross stitch design, only using one color of floss. If you’ve ever cross stitched before, this will be breeze for you, and if you’re a first-timer, the instructions have a simple primer to get you started, here is a good resource to check out.
What You’ll Need
- 1 skein of DMC 310 (or black embroider floss in whatever brand you prefer)
- 14-count aida cloth in white (a piece at least 12″ x 12″)
- 9″ wooden embroidery hoop
- Craft glue (I prefer Aleene’s Tacky Glue)
- Size 22, 24, or 26 embroidery needle
- One plastic spider ring
Let’s Get Started
Using the pattern, stitch your design as indicated. When finished, you’ll place it, centered, into your embroidery hoop. Stretch it taught and turn the screw at the top of the hoop to tighten it and keep the fabric in place. Now flip your hoop over and trim the excess fabric away, holding your scissors right against the back of the hoop. Using your glue, add a thin bead all the way around the back of the hoop, and use your finger or a paint brush to gently spread the glue. This will keep the fabric from fraying and also help to secure the fabric in place in between the two pieces of wood.

Cut off the ring part of the plastic spider ring with a pair of craft scissors. Using two strands of 24″ of embroidery floss, make a slip knot in the center (approximately 12″) and tighten the slip knot around the body of the spider. Take both ends of the floss and thread your needle (you’ll have four strands of embroidery floss on the needle now).

Bring your needle up from the back to the front in a center hole near the bottom of the hoop. Place your spider where you want it to be dangling (mine is about 3″) and hold it in place. Now, bring your needle around the bottom of the hoop and come back up through that same hole (from back to front). This secures the spider in place.
You’ll make a long straight stitch here, coming down in the space indicated on the pattern (right below the letter L in the word “all”). Turn your hoop over and make a knot to secure the floss in place.

Your hoop is all done! Hang it on the wall and frighten your most squeamish friends into thinking a real spider has taken up residence. Or maybe the real spiders that have already taken up residence in your house will become friends with this one. I don’t know your life! If you’re not into the spider, you can of course skip that part entirely.
Download the pattern below, and have fun crafting this one!


Leave a comment